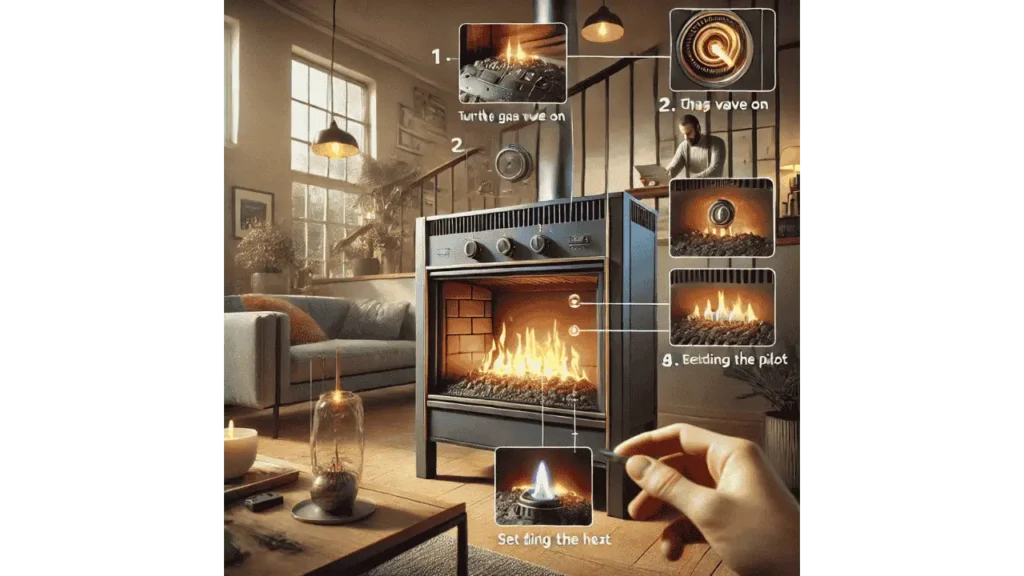
Having trouble lighting your Heatilator gas fireplace? You’re not alone, it’s a common hiccup for many homeowners. Whether it’s your first time or the pilot light just won’t cooperate, the solution is often simpler than it seems. In this guide, I’ll walk you through each step to get your fireplace glowing again. Stick with me, and you’ll have a cozy fire warming your home in no time. Let’s dive into it!
Lighting a Heatilator Gas Fireplace:
Lighting a heatilator gas fireplace is not as difficult as you may think. Follow these simple 8 steps one by one to ensure swift lighting without any hassle:

STEP 1: Locate Gas Supply Valve:
The first thing you’ll need to do is find the gas supply valve. It’s usually located near the base of your fireplace or behind a nearby access panel. In my experience, it’s often overlooked, but it’s the gateway to getting your fireplace going. Take a moment to familiarize yourself with its position, as this will make the process much smoother in the future.
STEP 2: Open the Valve by Pivoting the Handle to Be Parallel to the Gas Line:
Once you’ve located the gas supply valve, it’s time to open it. Simply pivot the handle so it’s parallel to the gas line. This step ensures gas is flowing to your fireplace. I always recommend moving the handle slowly and deliberately to avoid accidental mishaps. It’s a small action that makes a big difference!
Learn More: Gas Fireplace Smelling Like Kerosene!
STEP 3: Locate Pilot Assembly with Spark Igniter:
Next, find the pilot assembly, which includes the spark igniter. It’s usually tucked inside the fireplace near the burner. From my experience, a small flashlight can be a lifesaver, especially if the area is dimly lit. Once you’ve spotted the assembly, you’re one step closer to getting that warm fire started.
STEP 4: Push the Red or Black Igniter Button to Verify Spark at the Pilot Area:
Now, press the red or black igniter button and watch for a spark in the pilot area. This spark lights the gas, so it’s important to check that it’s working. If you don’t see a spark, the igniter might need adjustment or replacement. From my experience, a little patience here can save you a lot of troubleshooting later.
STEP 5: Locate the Black or Green Valve Control Knob:
Next, look for the valve control knob, which is usually black or green. It’s typically located near the pilot assembly and may have labels like “Off,” “Pilot,” and “On.” In my experience, spotting this knob quickly can save a lot of time, so take a moment to familiarize yourself with its position before moving on.
STEP 6: Press the Red Piezo Button Repeatedly (Once Per Second) Until the Pilot Ignites:
With the valve control knob set to “Pilot,” press the red piezo button repeatedly, about once per second, until you see the pilot light ignite. This step might take a few tries, especially if the fireplace hasn’t been used in a while. In my experience, a steady rhythm works best, so don’t rush it. Once the flame appears, you’re almost there!
STEP 7: Turn the Unit’s ON/OFF Switch (or Wall Switch or Remote Control) to the “ON” Position:
Once the pilot light is steady, turn the unit’s ON/OFF switch, or use your wall switch or remote control, to the “ON” position. This step engages the main burner, bringing your fireplace to life. From my experience, seeing that first flame is always satisfying, and it means you’re ready to enjoy the cozy warmth of your Heatilator fireplace.
STEP 8: Put the Glass Front Back on the Fireplace:
Before you light up your fireplace fully, replace the glass front securely. This barrier is essential for safety and ensures efficient operation. From my experience, double-checking that the glass is seated properly can save you from drafts or potential hazards. Once it’s in place, you’re all set to enjoy the warmth and ambiance of your fireplace.
Final Takeaways
Lighting a Heatilator gas fireplace is a straightforward process when broken down into manageable steps: ensure the gas supply is open, locate key components like the pilot assembly and control knobs, and carefully ignite the pilot before starting the main burner. Always prioritize safety by double-checking connections and replacing the glass front. From my experience, taking your time and following each step methodically ensures a smooth experience. If you encounter persistent issues, don’t hesitate to consult a professional for assistance. A well-maintained fireplace not only warms your home but also adds a touch of elegance to your space.
- How to Seal a Fireplace Insert? - April 23, 2025
- What Is the Lever on the Side of My Fireplace? - April 22, 2025
- What Is a Fireplace Fireback? - April 21, 2025
