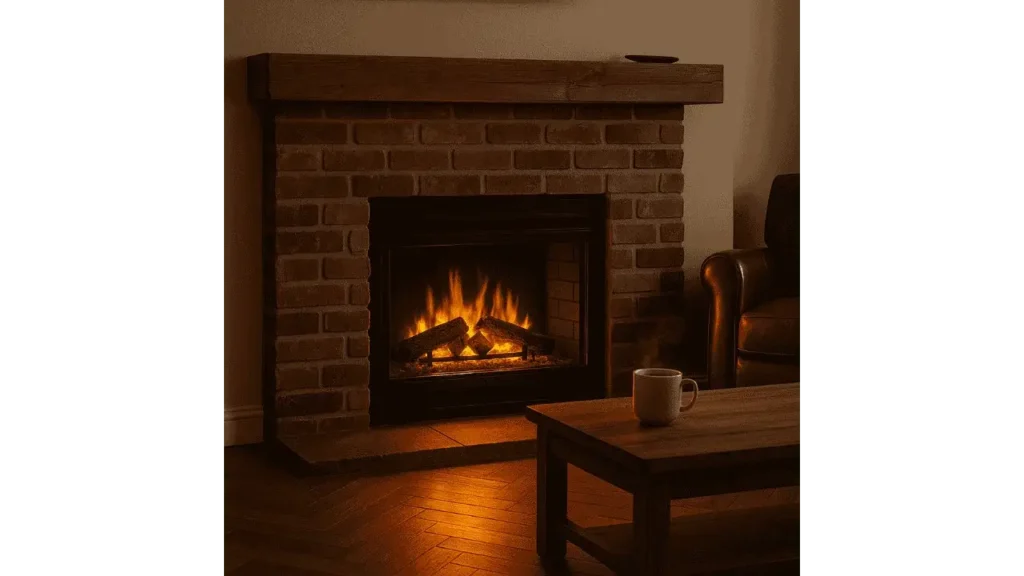
Switching from a traditional wood-burning fireplace to an electric unit is a choice I’ve seen many homeowners make for practical reasons. Firewood may have its charm, but it’s messy, requires constant maintenance, and can be a hazard. Electric fireplaces, on the other hand, offer a cleaner, safer, and more energy-efficient alternative without sacrificing the cozy ambiance. If you’re looking for convenience and a modern touch, making the switch can genuinely transform your living space.
Choosing Your Electric Fireplace Type
Plug‑in Fireboxes
Plug-in fireboxes are pre-wired electric units designed to fit directly into your existing fireplace. All you need to do is slide the unit in and plug it into a standard outlet. These units are ideal for those who want a quick, no-fuss upgrade without extensive remodeling or electrical work. From what I’ve observed, many DIYers prefer this type due to its straightforward setup and cost-effectiveness.
Electric Log Inserts
Electric log inserts sit on a grate and use LED technology to mimic realistic flame effects. They plug directly into a wall outlet and often come with remote controls and adjustable brightness.
“Electric log inserts are the easiest and most budget-friendly way to modernize a fireplace without losing its rustic appeal,” says Alan Johnson, a home heating expert at HearthTech.
Built‑in Inserts with Trim Kits
These units are designed for a snug, permanent fit and often include trim kits or shims to cover gaps. They provide a seamless look, blending naturally with your existing surround. While they may require a bit more prep work, the result is a polished, built-in appearance that feels custom-made.
Preparing the Existing Fireplace
Clean Out Debris
Begin by removing all leftover ashes, logs, old grates, and any gas line attachments if present. If your fireplace previously had a gas insert, ensure the gas line is safely sealed and capped by a professional. This step is essential for safety and prepares the area for a clean installation.
Measure Firebox Dimensions
Measure the height, width, and depth of your firebox at multiple points to account for any tapering. Accurate dimensions ensure the electric insert fits snugly without gaps or the need for excessive trimming. A proper fit also helps maintain the appearance and efficiency of the fireplace.
Ensuring Proper Electrical Access
Use a Dedicated Outlet
For optimal performance and safety, electric fireplace inserts should be connected to a dedicated 120V or 240V circuit. This prevents overloading and ensures consistent power delivery for both the heating element and flame effects. It’s one of the most critical parts of the setup and often overlooked.
Plug vs Hard‑wire Options
Plug-in models offer a simple DIY solution, but hardwired units may require the assistance of a licensed electrician.
“If you’re planning to run a high-output electric unit full-time, hardwiring is the safer bet,” advises technician Lila Romero of Electric Home Piro.
Understanding your usage needs can help you pick the right connection method.
Installing the Insert
Slide in and Level
Make sure the firebox is clean and dry before inserting the electric unit. Use leveling brackets or shims to ensure it sits evenly and securely. This ensures the insert performs reliably without shifting or vibrating.
Add Trim or Surround
Install the trim kit or a custom mantel surround to frame the electric insert. This step conceals any gaps and enhances the overall visual appeal of the upgrade. Many homeowners also choose this moment to refresh their fireplace’s decor.
Secure the Unit
Attach the insert to the existing structure using mounting brackets or screws. A stable fit not only improves safety but also keeps the unit from shifting during operation. A securely mounted unit lasts longer and operates more quietly.
Final Setup and Testing
Connect Power and Test Functions
Once everything is in place, plug in the unit (or ensure it’s wired properly) and test all features; flame effect, heat output, remote control, and built-in thermostat. This is where you make sure every component works before sealing the setup.
Conceal Electrical Cords
Tuck away any visible wiring using cord channels or decorative trim. Keeping cables out of sight improves aesthetics and reduces tripping hazards. It also gives your fireplace a cleaner, more intentional look.
Safety & Maintenance Tips
Seal and Cap Chimney or Gas Lines
Make sure unused gas lines are professionally capped and the chimney is sealed to prevent cold drafts, pests, or moisture ingress. This not only boosts safety but also improves energy efficiency.
Regular Cleaning
Dust the vents regularly, wipe down the front glass, and vacuum any debris from around the unit to maintain peak performance. A clean unit runs smoother and avoids overheating.
Professional Inspection
For hardwired units, an annual inspection by a qualified technician ensures everything remains up to code and functions safely. Scheduling this along with seasonal home maintenance keeps your unit reliable.
Conclusion
Converting a wood fireplace to electric isn’t just a style upgrade. It’s a safer, cleaner, and more efficient choice. By selecting the right insert, prepping your firebox properly, ensuring safe electrical access, and finishing the setup with care, you can enjoy the warmth and ambiance of a fireplace with far less hassle. It’s a smart change that combines the best of form and function, giving your home a modern comfort upgrade while still honoring the charm of a traditional hearth.
- 27 Farmhouse Fireplace Ideas That Bring Warmth & Charm - August 18, 2025
- 25 Fireplace Lighting Ideas to Illuminate Your Hearth - August 7, 2025
- How to Replace an Electric Fireplace Switch? - August 5, 2025


