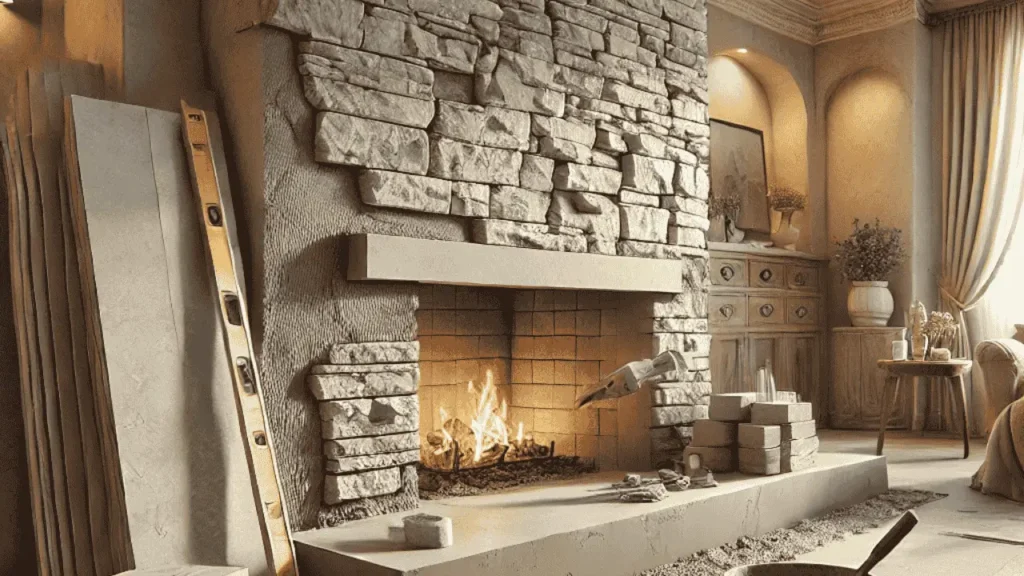
Transforming your fireplace with natural stone can feel overwhelming. I’ve been there, unsure where to start or how to handle the weight and texture of stone. But with the right prep and materials, it’s completely manageable. In this guide, we’ll go through everything from gathering supplies and prepping the surface to the step-by-step installation process. By the end, you’ll have a beautifully updated fireplace that adds both style and durability to your home!
Why Attach Natural Stone to Your Fireplace Wall?
Adding natural stone to your fireplace gives it a timeless, elegant look. It not only enhances the aesthetic appeal but also adds durability. Stone is heat-resistant and long-lasting, making it a practical choice. Let’s explore some common questions about installing natural stone.
Is Natural Stone Hard to Install?
Installing natural stone requires some work, but with proper planning and the right tools, it’s not too difficult. While it may take some patience, the results are well worth the effort, and many homeowners tackle it as a DIY project.
Can You Put Natural Stone Over Brick?
Yes, you can install natural stone over brick. It requires prepping the brick surface with a bonding agent or scratch coat to ensure the stone adheres properly. This is a great way to refresh an old brick fireplace without tearing it down.
Can You Apply Natural Stone Right on Plywood?
Natural stone can’t be applied directly to plywood. You’ll need to install cement board or a similar backing material first. Plywood isn’t strong enough to support the weight of stone, but a sturdy base like cement board will ensure proper adhesion.
What Is Used to Adhere Natural Stone?
Natural stone is typically adhered using thin-set mortar or a strong construction adhesive. Both options create a solid bond between the stone and the surface. When I installed my own, I found that mortar worked best for a secure and lasting hold.
Steps to Take Before the Installation
Before attaching natural stone, it’s essential to properly prep your fireplace. Let’s walk through the steps to ensure a smooth installation.
Get the Right Supplies
First, gather all necessary supplies, including thin-set mortar, a trowel, cement board (if needed), and the natural stone itself. Having everything on hand will help the installation go smoothly.
Measure Your Fireplace
Measure the fireplace carefully, noting the height and width. This ensures you buy the correct amount of stone and allows you to plan the stone layout more effectively.
Let the Natural Stone Acclimate
Let the stone sit in the room for a day or two to acclimate to the indoor temperature. This helps prevent any expansion or contraction after installation, ensuring a better fit.
Prepare the Fireplace Area
If your fireplace has brick or another material, clean the surface thoroughly and apply a bonding agent or scratch coat if needed. For plywood surfaces, install cement board to provide a stable, strong backing.
Arrange the Natural Stone
Lay out the stones on the floor before installation to plan the layout. This allows you to mix and match pieces for the best fit and design, ensuring a natural, balanced look once you begin placing the stones.
During the Installation
Now that the prep work is done, it’s time to install the natural stone. Here are the steps to follow during the installation process.
Apply the Base
Start by applying a layer of thin-set mortar to the fireplace surface using a notched trowel. Work in small sections to ensure the mortar stays workable while you position the stones.
Install the Stones
Press each stone firmly into the mortar, starting at the bottom and working your way up. Use spacers if needed to keep the gaps consistent. I found it helpful to step back occasionally to check the overall alignment and design.
Grout and Caulk the Stones
Once the stones are installed and the mortar has set, fill in the gaps with grout. Use a grout bag to avoid mess and ensure even application. After the grout dries, caulk around the edges for a clean, finished look.
Final Takeaways
Installing natural stone on your fireplace may seem challenging, but with proper planning, the right materials, and a step-by-step approach, it’s a rewarding project. From prepping the surface to applying the stone and finishing with grout, you can transform your fireplace into a stunning focal point. Take your time, enjoy the process, and soon you’ll have a beautiful, timeless fireplace to admire!
- 27 Farmhouse Fireplace Ideas That Bring Warmth & Charm - August 18, 2025
- 25 Fireplace Lighting Ideas to Illuminate Your Hearth - August 7, 2025
- How to Replace an Electric Fireplace Switch? - August 5, 2025


