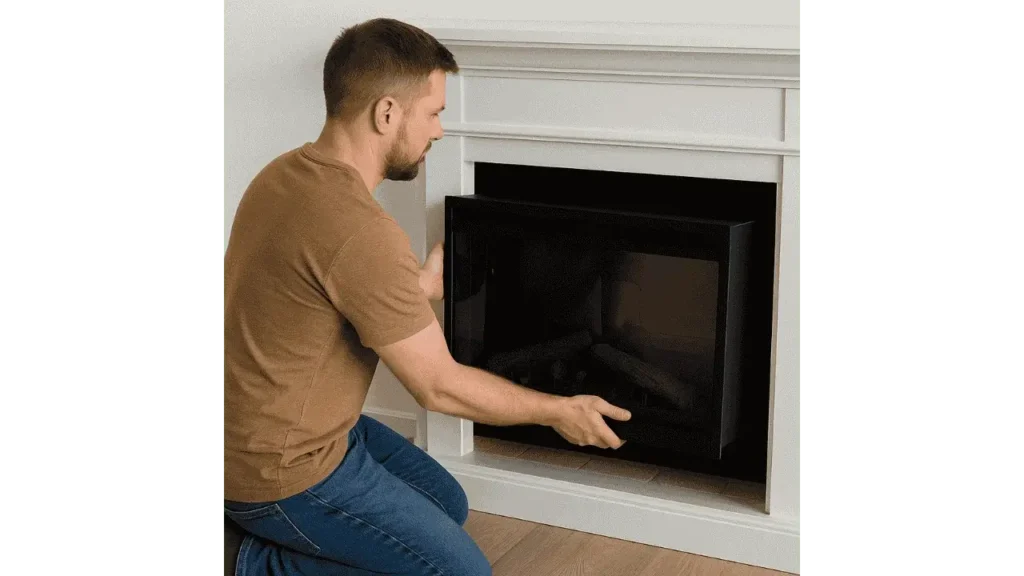
Electric fireplace inserts are a stylish and efficient way to upgrade an existing fireplace without the mess of wood or the complexity of gas. They offer realistic flame effects, convenient remote control options, and customizable heat settings. For many homeowners, they bring the ambiance of a traditional fire with modern convenience.
“Electric inserts are one of the simplest and safest ways to add warmth and charm to any living space,” says Karen Fields, an interior renovation consultant based in Ontario.
Things to Consider Before Installation
Before purchasing or installing an electric fireplace insert, it’s important to take a few precautions. First, measure your existing firebox to ensure the insert will fit snugly. Next, check for an accessible power outlet. Most inserts run on standard 120V outlets, but some require hardwiring by a professional. Avoid using extension cords, and always follow the manufacturer’s safety guidelines. Decide whether you want a simple firebox insert or a more decorative unit with a full surround kit.
Step-by-Step Guide to Installation
Step 1: Measure the Fireplace Opening
Use a tape measure to determine the width, height, and depth of your fireplace cavity. Compare these measurements with the specifications of your chosen insert to confirm compatibility. A snug fit ensures better aesthetics and efficiency.
Step 2: Prepare the Fireplace Cavity
Remove any remaining ash, soot, or debris. Use a vacuum and damp cloth to clean the interior. This will provide a safe, clean base for the new insert and reduce any lingering odors from past fires.
Step 3: Locate the Power Source
Identify the nearest grounded electrical outlet. If your insert is plug-in, make sure the cord reaches comfortably. For hardwired models, turn off the power at the breaker and consult a licensed electrician if necessary.
Step 4: Place the Insert in Position
Carefully slide the insert into the fireplace cavity. Make sure it sits level and is centered. Most inserts include adjustable feet or support brackets to help stabilize the unit.
Step 5: Secure and Finish
If your model includes mounting hardware, attach it according to the instructions. Install any trim or surround pieces for a seamless, built-in look. These pieces help conceal gaps and enhance the overall appearance.
Step 6: Plug It In and Test
Plug in the insert or complete the hardwiring. Turn on the unit and test all functions, including flame effects, heat settings, and remote features. Let it run for a few minutes to ensure everything operates smoothly.
Post-Installation Tips
Once installed, keep flammable items at least three feet away from the unit. Dust intake and exhaust vents regularly to maintain airflow. Follow your model’s maintenance schedule for filter cleaning or light bulb replacement.
“Routine care, especially cleaning the vents, extends the life and efficiency of your electric insert,” recommends Sean Patel, a certified HVAC technician from Portland.
Conclusion
Installing an electric fireplace insert is a rewarding project that transforms your living space with added warmth and charm. With careful measurements, proper setup, and attention to safety, the process is straightforward and manageable. Whether you’re upgrading a non-functional wood fireplace or simply want a cozy focal point, an electric insert offers beauty, comfort, and convenience all in one.
- 27 Farmhouse Fireplace Ideas That Bring Warmth & Charm - August 18, 2025
- 25 Fireplace Lighting Ideas to Illuminate Your Hearth - August 7, 2025
- How to Replace an Electric Fireplace Switch? - August 5, 2025


