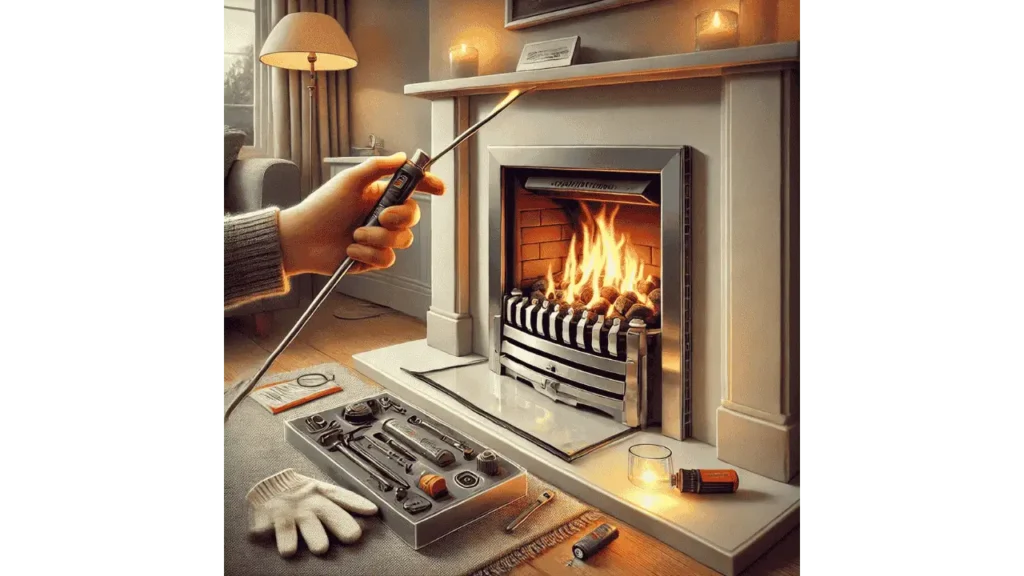
Lighting a gas fireplace without an ignitor can feel frustrating, especially if you’re not sure where to start. I’ve been there, wondering how to get the pilot light going manually without damaging anything. But don’t worry, it’s easier than it sounds! In this guide, I’ll walk you through each step of safely lighting the pilot light and share some troubleshooting tips if you run into issues. Let’s get that fireplace warmed up!
How to Light a Gas Fireplace Pilot Without an Ignitor
Lighting a gas fireplace pilot without an ignitor is a straightforward process, though it might seem intimidating at first. I remember being a bit nervous the first time I tried it, but it’s simple once you know the steps. Here’s how to safely get your pilot light going manually.
Step 1: Locate the Pilot Light Assembly
The pilot light assembly is usually found near the bottom of your gas fireplace, often behind a panel. This is where you’ll manually ignite the flame.
Step 2: Remove the Cover
Carefully remove the cover over the pilot light assembly. This opens up access so you can light the pilot with a long match or lighter. Be sure to keep the match or lighter ready before you begin!
Step 3: Ignite the Pilot Light
With the cover removed, use a long match or lighter to reach down and ignite the pilot light. Hold the flame close to the pilot tube until you see the flame catch.
Step 4: Hold the Flame
Once the pilot light ignites, keep the flame directed at the pilot for about 30 seconds. This allows the thermocouple to heat up and maintain the flame after you release the control knob.
Step 5: Replace the Cover
After the pilot light is lit and stable, carefully replace the cover. Now your fireplace should be ready to use, bringing warmth and comfort back to your home!
Learn More: Cost of Running a Gas Fireplace
Next Steps in Troubleshooting Pilot Light Issues
If your pilot light doesn’t stay lit after following the steps, don’t worry, there are a few troubleshooting steps to try before calling in professional help. Let’s start with the easiest checks.
Step 1: Check the Ignitor Batteries
Even if you’re lighting the pilot manually, it’s a good idea to check the ignitor batteries. Low or dead batteries can interfere with the pilot staying lit. I’ve found that simply swapping out the batteries often solves the problem.
Step 2: Inspect and Clean or Replace the Thermocouple
If the batteries are fine, the next step is to check the thermocouple, a small device that senses whether the pilot is lit. If it’s dirty or faulty, the pilot won’t stay lit. Clean it gently or replace it following your owner’s manual instructions, or call a professional if needed.
Step 3: Verify Gas Control Valve Settings
Make sure the gas control valve is in the ‘pilot’ position. If it’s set incorrectly, the gas supply may not reach the pilot light, causing it to go out.
Step 4: Evaluate for More Serious Problems
If the pilot still won’t stay lit, there may be a more serious issue, such as damage to the thermocouple during installation or maintenance. In such cases, it’s best not to force anything and move to the next step.
Step 5: Professional Assistance
If troubleshooting doesn’t resolve the problem, it’s time to call a professional. They can safely diagnose and fix complex issues, ensuring your fireplace operates properly.
Bottom Line
Lighting a gas fireplace pilot without an ignitor is simple with the right steps, and troubleshooting common issues like checking the ignitor batteries or thermocouple can often solve problems. If things still aren’t working, don’t hesitate to reach out to a professional for help. With a bit of patience, you’ll have your fireplace up and running in no time, bringing warmth back to your home!
- 27 Farmhouse Fireplace Ideas That Bring Warmth & Charm - August 18, 2025
- 25 Fireplace Lighting Ideas to Illuminate Your Hearth - August 7, 2025
- How to Replace an Electric Fireplace Switch? - August 5, 2025


