
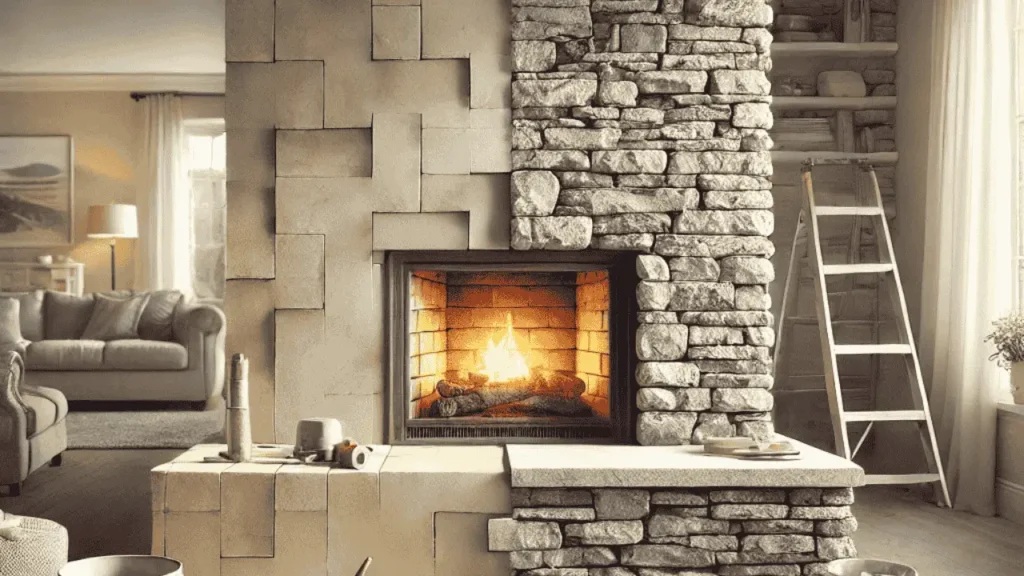
Tackling a fireplace makeover can feel overwhelming, especially when you’re eyeing stone veneer as an upgrade. I’ve been there, staring at my outdated fireplace, unsure how to start. The thought of installing heavy stone seemed daunting, but the transformation it brings is worth it. Luckily, with the right prep and a few DIY-friendly steps, adding stone veneer isn’t as complicated as it looks. In this guide, I’ll walk you through the process to make your fireplace the stunning focal point you’ve always wanted!

How to Put Stone Veneer on Fireplace?
Installing stone veneer on your fireplace can seem like a big task, but it’s actually more manageable than you’d think. I’ve gone through the process myself, and with the right prep and tools, it’s a rewarding DIY project. Let’s start by talking about what you’ll need for a strong base.
It needs a strong backing
First, make sure your fireplace has a sturdy backing. Stone veneer can be heavy, so you need a solid surface, like cement board or masonry, for it to properly adhere to. Without this, the stones won’t hold up well over time.
The prep work
Once you’ve ensured a strong backing, it’s time for prep. Clean the surface thoroughly, removing any dust or debris. I found that taking the time to properly prep the surface made the installation much smoother. You’ll also want to measure the area and plan the layout of your stones before getting started, ensuring everything fits perfectly.
Stone veneer is kind of like more chill tiling
Installing stone veneer is similar to tiling but with a bit more flexibility. Instead of worrying about perfect patterns, you can mix and match stone pieces for a natural, rustic look. That’s one thing I loved about it, it felt less strict and allowed some creative freedom.
Related: Installing a Mantel on a Stone Fireplace
How to lay the stone
Start from the bottom and work your way up. Apply a layer of mortar to the backing, then press each stone into place. Use spacers to ensure even gaps. As you go, step back occasionally to check the alignment, it’s easier to adjust early on rather than fix mistakes later.
How to cut stone veneer
For those tricky areas, you’ll need to cut some stones to fit. Use a masonry saw or grinder to cut the veneer, and remember to wear safety gear. I was a bit nervous about this part, but with careful measuring and the right tools, it’s not as tough as it seems.
Next step: Grout
Once the stones are in place, it’s time to grout. Use a grout bag to fill the gaps between the stones, working slowly to ensure even coverage. I found it helpful to use a pointing tool afterward to smooth out the grout and give it a clean, professional finish. Let it dry fully before moving on to any final touches.
Final Takeaways
Installing stone veneer on your fireplace may seem like a challenge, but with proper prep, a solid backing, and careful attention to laying the stones, you can achieve a stunning transformation. The process is a lot like tiling but with more freedom to play with the design. Take your time, enjoy the creative process, and soon you’ll have a beautiful stone fireplace that elevates your space!

- 27 Farmhouse Fireplace Ideas That Bring Warmth & Charm - August 18, 2025
- 25 Fireplace Lighting Ideas to Illuminate Your Hearth - August 7, 2025
- How to Replace an Electric Fireplace Switch? - August 5, 2025