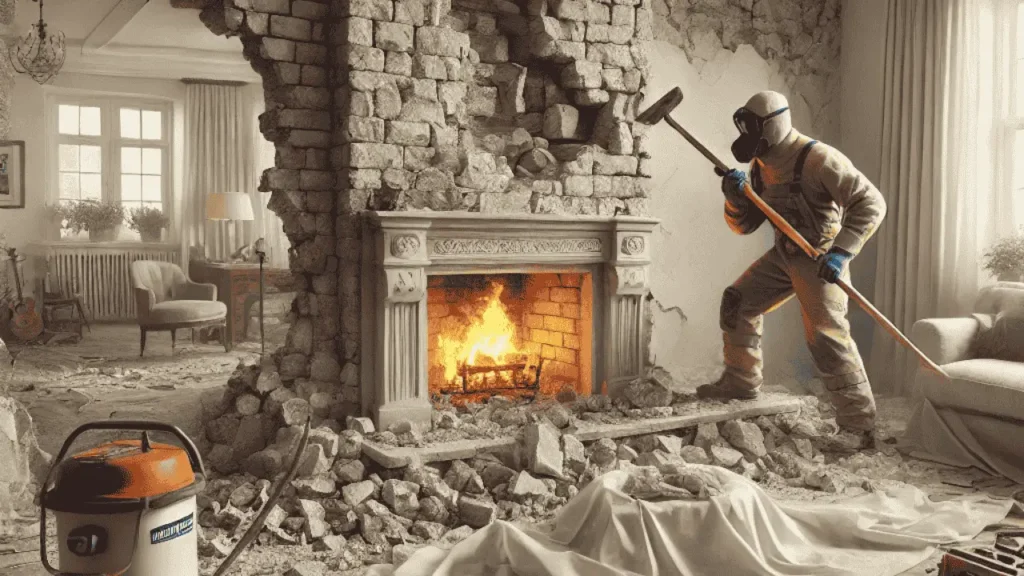
I remember standing in front of my own old fireplace, wondering how to even begin tackling the bulky stone surround. It seemed like such a daunting task, but once I broke it down into simple steps, it became surprisingly manageable. If you’re feeling the same, don’t worry, you’re not alone. Whether it’s cast iron, tile, or timber, I’ve got you covered with easy, step-by-step guidance to remove your fire surround and get your space ready for a fresh new look! Let’s get started!
Removing an old fire surround
Removing an old fire surround can seem like a daunting task, but it’s actually easier than you might think. When I decided to tackle my own outdated stone fireplace, I was surprised at how manageable the process was with the right tools and a step-by-step approach. In this guide, we’ll go through how to remove different types of surrounds, whether it’s cast-iron, timber, or stone, so you can get started on your fireplace makeover.
Removing a cast-iron fire surround
Removing a cast-iron fire surround involves a few key steps to ensure it’s done safely and efficiently.
First Step: Disconnect the Surround
Start by turning off the gas or power supply if necessary. Then, loosen and remove any screws or bolts securing the cast iron surround to the wall. Be sure to have someone help you, as cast iron can be heavy.
Second Step: Pry Away from the Wall
Use a crowbar or pry tool to gently separate the surround from the wall. Work your way around the edges, being careful not to damage the wall or surrounding materials.
Third Step: Lift and Remove
Once the surround is free, carefully lift it off and move it to a safe location. Cast iron is heavy, so take your time and get help if needed to avoid injury or damage.
Learn More: How to Cover a Stone Fireplace with Wood?
Removing a tiled fire surround
Taking down a tiled fire surround involves careful steps to avoid damaging the tiles or surrounding area.
First Step: Remove the Grout
Begin by using a grout removal tool or utility knife to carefully scrape away the grout around the tiles. This makes it easier to detach the tiles without breaking them.
Second Step: Pry Off the Tiles
Use a chisel or flat pry bar to gently lift each tile from the wall. Start from the edges and work inward, taking your time to avoid cracking the tiles or damaging the wall underneath.
Third Step: Remove the Surround
Once the tiles are removed, unscrew or detach any brackets holding the fire surround in place. Gently pry it away from the wall, and lift it off. Be sure to get help if it’s heavy.
Removing a timber fire surround
Removing a timber fire surround is straightforward, but care is needed to avoid damaging the wall or mantel.
First Step: Locate and Remove Fixings
Start by locating the screws or brackets that secure the timber surround to the wall. Use a screwdriver to remove these fixings, often found behind the mantel or along the sides.
Second Step: Pry the Surround Loose
Once the screws are out, use a flat pry bar to gently loosen the timber surround from the wall. Work your way around the edges carefully to avoid damaging the surrounding structure.
Third Step: Lift and Remove the Timber Surround
After the surround is loose, simply lift it away from the wall. Timber is typically lighter than stone or cast iron, so you can usually handle this step solo, though help is always recommended for larger pieces.
Removing a brick or stone fire surround
Removing a brick or stone fire surround requires a bit more effort due to its weight and sturdiness, but it can be done in just a few steps.
First Step: Loosen Mortar Joints
Start by using a chisel and hammer to carefully chip away the mortar between the bricks or stones. Focus on one section at a time, loosening the individual pieces without damaging the surrounding wall.
Second Step: Pry Off Bricks or Stones
Once the mortar is loosened, use a pry bar to gently remove each brick or stone from the wall. Work slowly to avoid damaging the structure or surrounding areas.
Third Step: Remove the Surround
After all the bricks or stones are removed, inspect for any remaining fixings or mortar. Once everything is clear, carefully lift off the stone or brick surround. Due to the weight, having help is recommended for safety.
Read More: How to Clean Soot Off Fireplace
Removing a tiled, brick or stone hearth
Removing a hearth made of tile, brick, or stone involves breaking up the material and clearing the base underneath. Here’s how to do it in three steps.
First Step: Break Up the Surface
Start by using a hammer and chisel to break up the tiles, bricks, or stone on the hearth surface. Work slowly, section by section, to avoid damaging the surrounding floor or fireplace structure.
Second Step: Remove Mortar or Adhesive
Once the surface material is removed, scrape away the underlying mortar or adhesive with a chisel or pry bar. This clears the base for further renovations or flooring installation.
Third Step: Clear the Debris
After the surface and mortar are removed, sweep away the debris and inspect the area for any remaining fixings or material. You’re now ready to install a new hearth or leave the space clear for a different design!
Final Takeaways
Removing an old fire surround, whether it’s cast iron, tiled, timber, or stone, is a manageable process when broken down into simple steps. Each type of material requires its own approach, from loosening screws and mortar to carefully prying away the surround. Once you’ve tackled the removal, you’re left with a clean slate for updating your fireplace’s design. With the right tools and a little patience, you can transform your fireplace and give your room a fresh new look!
- 27 Farmhouse Fireplace Ideas That Bring Warmth & Charm - August 18, 2025
- 25 Fireplace Lighting Ideas to Illuminate Your Hearth - August 7, 2025
- How to Replace an Electric Fireplace Switch? - August 5, 2025


