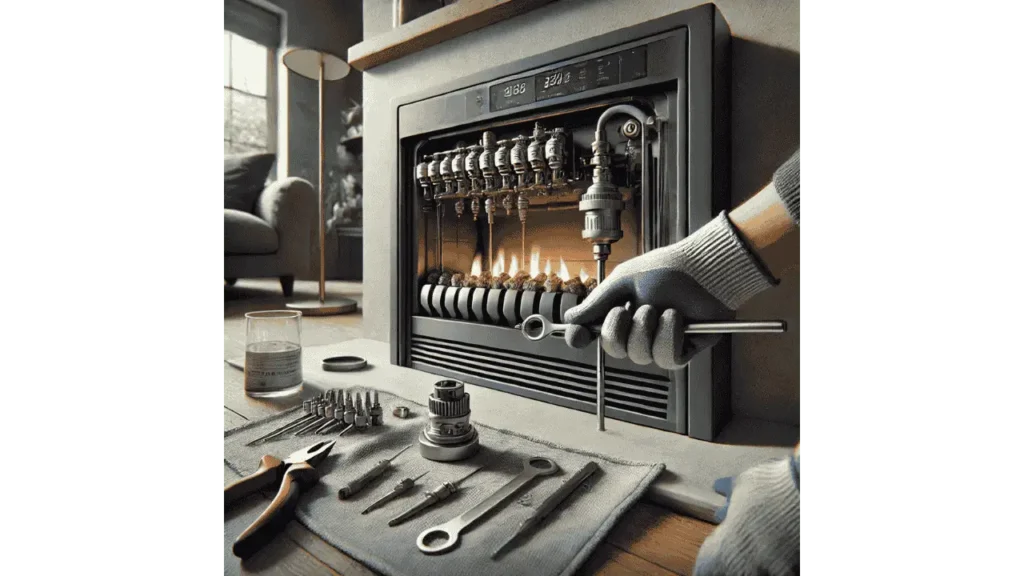
If your gas fireplace keeps going out or the pilot light won’t stay lit, chances are it’s the thermocouple acting up. I’ve been there, and replacing this small but crucial part can solve the problem quickly. In this guide, we’ll walk through how to test and replace a faulty thermocouple, with simple steps to get your fireplace working again. Let’s dive in and take the hassle out of fixing your fireplace!
Test The Thermocouple Before You Replace
Before rushing to replace the thermocouple, it’s a good idea to test it first. I’ve made the mistake of replacing parts only to find out they weren’t the issue! A simple test can save you time and money. Use a multimeter to check if the thermocouple is generating enough voltage (usually 25 to 30 millivolts). If the reading is low or non-existent, that’s when you’ll know it needs replacing. Testing first ensures you’re not swapping out a working part unnecessarily.
Step-by-Step Procedure To Replace A Gas Fireplace Thermocouple
Once you’ve confirmed that the thermocouple needs replacing, the process is straightforward. Let’s go through the steps to ensure a smooth replacement.
Step 1: Turn Off the Gas Supply
Before starting, make sure to turn off the gas supply completely. This is a critical safety step to avoid gas leaks or any accidents while working on your fireplace.
Step 2: Remove the Fireplace Cover
Carefully remove the fireplace cover to access the burner assembly. Depending on your fireplace model, this might involve unscrewing a panel or simply lifting off the cover. Keep track of any screws for reassembly later.
Step 3: Locate and Remove the Old Thermocouple
Find the thermocouple near the pilot light assembly. It’s a small metal rod attached to the gas valve. Unscrew it carefully, making sure not to damage any nearby components. Keep the area clean for the new installation.
Step 4: Install the New Thermocouple
Position the new thermocouple where the old one was, ensuring it’s correctly aligned with the pilot flame. Screw it securely into place but avoid over-tightening, as this could damage the connection.
Step 5: Reassemble and Test the Fireplace
Reattach the fireplace cover and turn the gas back on. Light the pilot and test the fireplace to ensure the new thermocouple is working properly. If the pilot stays lit, you’ve successfully replaced the thermocouple!
Bottom Line
Replacing a gas fireplace thermocouple is a simple process if you follow the right steps. By turning off the gas, removing the old part, and carefully installing the new one, you’ll have your fireplace running smoothly again. With just a bit of effort, you can avoid costly repairs and keep your home warm and cozy!
- 27 Farmhouse Fireplace Ideas That Bring Warmth & Charm - August 18, 2025
- 25 Fireplace Lighting Ideas to Illuminate Your Hearth - August 7, 2025
- How to Replace an Electric Fireplace Switch? - August 5, 2025


